
The main thing.
Download latest version: ajr.exe (0.2 beta). Beta version, report any bugs here.
Download sample warning sound (or you can use any other short WAV sound). Put it to the same folder where you use ajr.exe.
Download sample log file: CSV and XLS.
This software is a kind of “donationware”. Monitoring time (show values on the screen) is completely unlimited even in the unregistered version. Max CSV log file size per execution is limited to 15 minutes in unregistered version, but the number of executions is unlimited and you can create unlimited number of 15-minutes logs. If you like this software, please consider donation to unlock unlimited log size.
Read the manual before asking any questions…
The purpose of this software.
I was not satisfied with the original JNX-2000D software – it doesn’t work on port10 and higher, shows wrong and even negative voltage in Russian locale and cannot log activity. So I decided to write my own solution. This software not only shows the values from JNX-2000D handheld device, but also stores them in CSV format for further analysis in other software such as Microsoft Excel, which allows sorting data, finding max, min and average values for any column, building graphs showing the alternations of values in time.

Disclaimer.
I’m not a representative of JNX producing company and not connected with them in any way. I do not deal with any device support or warranty issues. I’m not responsible for any damages or losses that you may incur while using JNX-2000D with this or any other software.
Installation order.
You can skip steps 1-4 if you already used JNX-2000D on your computer with the original producer’s software.
- Do not plug in JNX-2000D to your PC before installing drivers!
- Install old version of Prolific USB-to-Serial driver from JNX package. Do not install latest versions from Prolific website or Windows automatic driver search. JNX-2000D uses a fake Prolific chip, so it won’t work with newer drivers: they check if it’s a fake and show a yellow icon with error 10 – the device cannot start. If you see this problem, just downgrade to older driver version (3.2.0.0 works for sure).
- Plug in the device to your computer.
- Open Device manager. Make sure “Prolific USB-to-Serial Comm Port” is in the list under Ports item. Find out the port number assigned to it. In the following example, it is COM2.

Here you can also assign any unused port to this device in Properties – Port Settings – Advanced. - Install Acritum JNX-2000D Reader. Switch to Device Settings tab and set your JNX-2000D com port number. You can also set Channel for the handheld device, but I highly recommend you to keep it “0” and select the channel manually in the handheld device (read the device manual, set N-value). The channels on the main device and on the handheld should be the same (they are most likely used to separate data if you use several JNX sockets to measure power of different devices at the same time). If you set anything but “0” in AJR, it will update channel in the handheld every time you start monitoring thus adding 1-2 seconds of waiting, however, it is not really needed because both main device and the handheld save the channel number in their internal memory after initial setup.
- The software is ready to work. You don’t have to install original JNX Data Receiver to work with this software, but you can install it if you like, although these two receivers will not work simultaneously.
Monitoring.
- Connect JNX-2000D handheld device to your PC.
- Make sure the handheld device shows some data on LCD, otherwise press SET button on the device to activate it.
- Press Start button. It takes 3 seconds to start monitoring, because it is required to receive three messages from the device to get the complete set of values. We don’t need empty values in the log file, so we’d rather wait until the data is completely received. After the initial set of values is received, some values will be updated every second (W,V,A, fractional part of kWh), and others will be updated every 3 seconds (FP, Timer, integer part of kWh). This is not my fault, it’s the way the device works).
- All values are shown from the handheld device. Thus, the main device has 0.001A precision, while the handheld device has only 0.01A precision, so does AJR and I cannot fix this. So, if the power is rather low (<2W), you may see a strange thing that the power is, for example 0.3W and the current is 0.00A. Looks impossible, but at the same time, the main (socket) device will show 0.001A, so there is a small current, but the handheld device cannot show it.
- Apparent Power is neither calculated in the device nor in the original software. I’ve added it to AJR to control the total load on my 2.5kVA gasoline portable generator. The apparent power is calculated using the following formula: VA=W/PF. Apparent power is usually higher than real power, so it should be kept in mind when using gasoline/diesel generators to prevent overload.
- Freeze values checkbox is used to temporary stop updating the values on the screen to look or write down the values at some interesting moments. This feature does not stop CSV logging; it only stops refreshing the values on the screen, so it won’t spoil your log file.
- Always on top is used to make AJR window hang above all other windows for constant monitoring purposes.
- If you use AJR for logging only, you can minimize the monitoring window to system tray by clicking on the minimize button or on the AJR tray icon (light bulb icon). To show AJR window, click on the AJR tray icon again.
- Device settings and CSV settings tabs are disabled when AJR receives data. You should stop the process before you can change anything there. Warnings tab remains accessible and you can change everything there in real-time.
- When you are ready to stop monitoring, press Stop button. Do not eject the device from USB port when AJR reads data from it, otherwise Windows can hang up or go to BSOD. I’ve spent a lot of time to fix it, but I couldn’t. The problem is probably in the Prolific driver, because the original reader from the JNX producer behaves the same way.
Warnings.
You can specify acceptable ranges for Real and Apparent Power as well as for Voltage. This may be useful in the following situations:
- Loads higher than 3 kW can damage JNX-2000D.
- Loads higher than x kVA can damage your gasoline portable generator or power inverter (see specs for your generator to see max allowed load in kVA).
- If the voltage gets too low or too high, it can damage your household equipment. For example, if a PC is supposed to work at 220-230V, the voltages below 210V and higher than 240V can possibly damage it.
Check values that you want to monitor. When one of them is out of range, the value will be shown on a red background. You can also specify a short warning sound in WAV format, it will be played every time any value gets out of range. The file should be in the same folder were ajr.exe is, otherwise you should specify full path to it. Press
“test now” button to hear if the sound file can be played correctly.
When something gets wrong (the values fall out of range constantly), you can change allowed ranges or turn off the warning sound or even disable warnings when AJR continues to receive data – you don’t need to stop logging to change anything on the Warnings tab – all changes here are applied immediately.
Logging to CSV.
CSV log file:
- Disabled – log file will not be created.
- Append – if the log file doesn’t exist, it will be created. If the log file exists, it will be continued. Log file name: “log.csv”.
- Rewrite – the old log file is deleted and a new log file is created every time you start monitoring. Log file name: “log.csv”.
- Always new – a new log file “log-yyyymmddhhnnss.csv” is created every time you start monitoring.
Separator: select a separator (delimiter) for CSV file format. Comma is most widely used, but in Russian locale comma is used as a decimal point, so the Russian version of MS-Excel uses a semicolon as a separator. Tab can be also used to create log files in TSV format.
Note that if MS-Excel doesn’t open your CSV file correctly, you can rename it to TXT and Excel will show import options window, where you can specify the correct separator that you used in your log file.
Date and time options:
Date and time are not received from JNX-2000D, they are generated by AJR and you can decide whether you want to add them to your log or not.
- Do not add – do not add.
- Single item – date and time are added as one value, for example “2014-01-01 00:00:00,other values”.
- Separate items – date and time are added to CSV as two values, for example “2014-01-01,00:00:00,other values”.
Date and time format – you can select whatever you like here, or at least whatever your spreadsheet software can understand to show correctly in graphs and tables. Use date and time format manual:
Specifier Displays
c Displays the date using the format given by the ShortDateFormat global variable, followed by the time using the format given by the LongTimeFormat global variable. The time is not displayed if the date-time value indicates midnight precisely.
d Displays the day as a number without a leading zero (1-31).
dd Displays the day as a number with a leading zero (01-31).
ddd Displays the day as an abbreviation (Sun-Sat) using the strings given by the ShortDayNames global variable.
dddd Displays the day as a full name (Sunday-Saturday) using the strings given by the LongDayNames global variable.
ddddd Displays the date using the format given by the ShortDateFormat global variable.
dddddd Displays the date using the format given by the LongDateFormat global variable.
e (Windows only) Displays the year in the current period/era as a number without a leading zero (Japanese, Korean and Taiwanese locales only).
ee (Windows only) Displays the year in the current period/era as a number with a leading zero (Japanese, Korean and Taiwanese locales only).
g (Windows only) Displays the period/era as an abbreviation (Japanese and Taiwanese locales only).
gg (Windows only) Displays the period/era as a full name. (Japanese and Taiwanese locales only).
m Displays the month as a number without a leading zero (1-12). If the m specifier immediately follows an h or hh specifier, the minute rather than the month is displayed.
mm Displays the month as a number with a leading zero (01-12). If the mm specifier immediately follows an h or hh specifier, the minute rather than the month is displayed.
mmm Displays the month as an abbreviation (Jan-Dec) using the strings given by the ShortMonthNames global variable.
mmmm Displays the month as a full name (January-December) using the strings given by the LongMonthNames global variable.
yy Displays the year as a two-digit number (00-99).
yyyy Displays the year as a four-digit number (0000-9999).
h Displays the hour without a leading zero (0-23).
hh Displays the hour with a leading zero (00-23).
n Displays the minute without a leading zero (0-59).
nn Displays the minute with a leading zero (00-59).
s Displays the second without a leading zero (0-59).
ss Displays the second with a leading zero (00-59).
z Displays the millisecond without a leading zero (0-999).
zzz Displays the millisecond with a leading zero (000-999).
t Displays the time using the format given by the ShortTimeFormat global variable.
tt Displays the time using the format given by the LongTimeFormat global variable.
am/pm Uses the 12-hour clock for the preceding h or hh specifier, and displays ‘am’ for any hour before noon, and ‘pm’ for any hour after noon. The am/pm specifier can use lower, upper, or mixed case, and the result is displayed accordingly.
a/p Uses the 12-hour clock for the preceding h or hh specifier, and displays ‘a’ for any hour before noon, and ‘p’ for any hour after noon. The a/p specifier can use lower, upper, or mixed case, and the result is displayed accordingly.
ampm Uses the 12-hour clock for the preceding h or hh specifier, and displays the contents of the TimeAMString global variable for any hour before noon, and the contents of the TimePMString global variable for any hour after noon.
/ Displays the date separator character given by the DateSeparator global variable.
: Displays the time separator character given by the TimeSeparator global variable.
‘xx’/”xx” Characters enclosed in single or double quotes are displayed as-is, and do not affect formatting.
Timer style – JNX-2000D sends days, hours and minutes of the timer as three items. For visibility purposes, AJR can format them in several ways:
- dddd,hh,mm – three values will be logged. For example, 10 days 5 hours 3 minutes will be converted to “10”, “05”, “03”.
- d hh:mm – one value will be logged. For example, 10 days 5 hours 3 minutes will be converted to “10 05:03”.
- (hhh)h:mm – one value will be logged. For example, 10 days 5 hours 3 minutes will be converted to “245:03”.
- (mmm)m – one value will be logged. For example, 10 days 5 hours 3 minutes will be converted to “14703”.
Logs folder – specifies the folder where log files will be saved (this field is editable).
Using CSV log in Microsoft Excel.
Just open your log in MS-Excel to see all the values in separate columns. Now you can analyze the data the way you want, build graphs, find min, max and average values using built-in functions:

Click to enlarge
To find date and time, when the highest and lowest values were logged, just copy date/time column and any other desired column (voltage in my example) to a separate sheet, sort the voltage column in ascending or descending order and the dates will be arranged accordingly. Here you can see time, when the highest and lowest voltages were logged:

Click to enlarge
Support, new versions, other.
You are welcome to visit http://acritum.com/ajr for help and updates. Donations are also welcome.
Other thoughts.
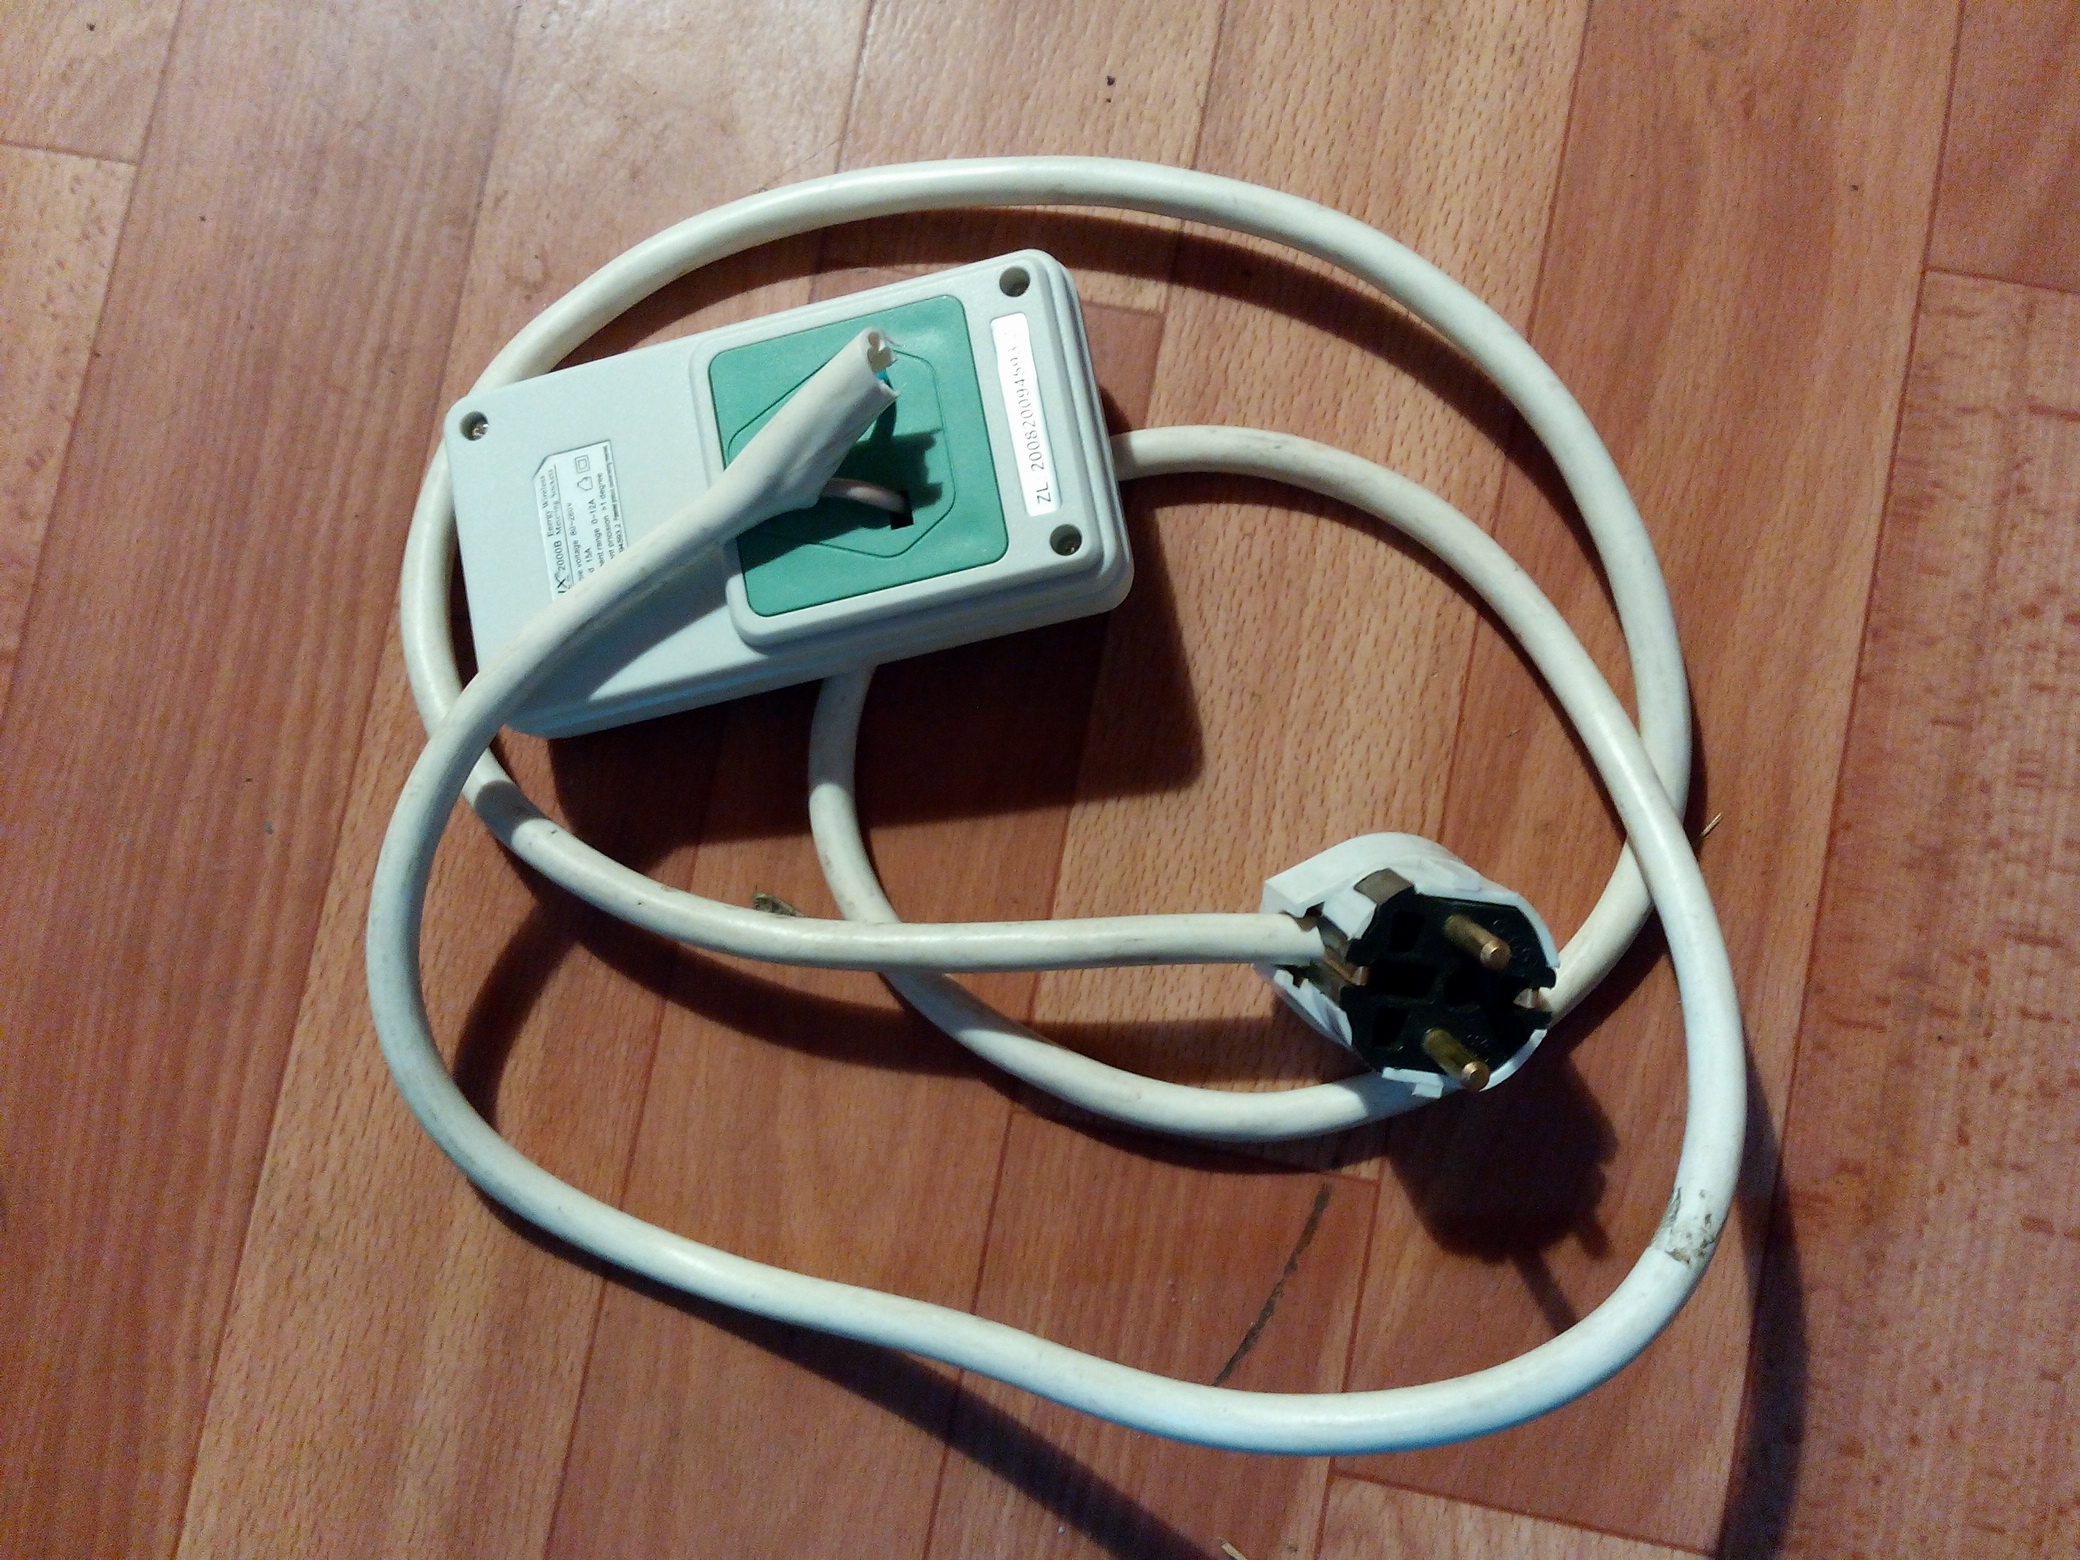
If you received JNX-2000D with a wrong plug, it’s not a problem to remove pins and solder a good cable directly to output socket. This will also increase safety when using JNX-2000D with hi-power equipment during a long period because the black wire from the input plug to output socket was really thin while the red one was fine. I used a 3×2.5mm cable (pink instead of red and blue instead of black in my picture) and I also replaced two thin wires that powered the device itself with thicker ones (the pink ones in my picture). Using the device with a soldered cable is more convenient and safer than using a plug converter.
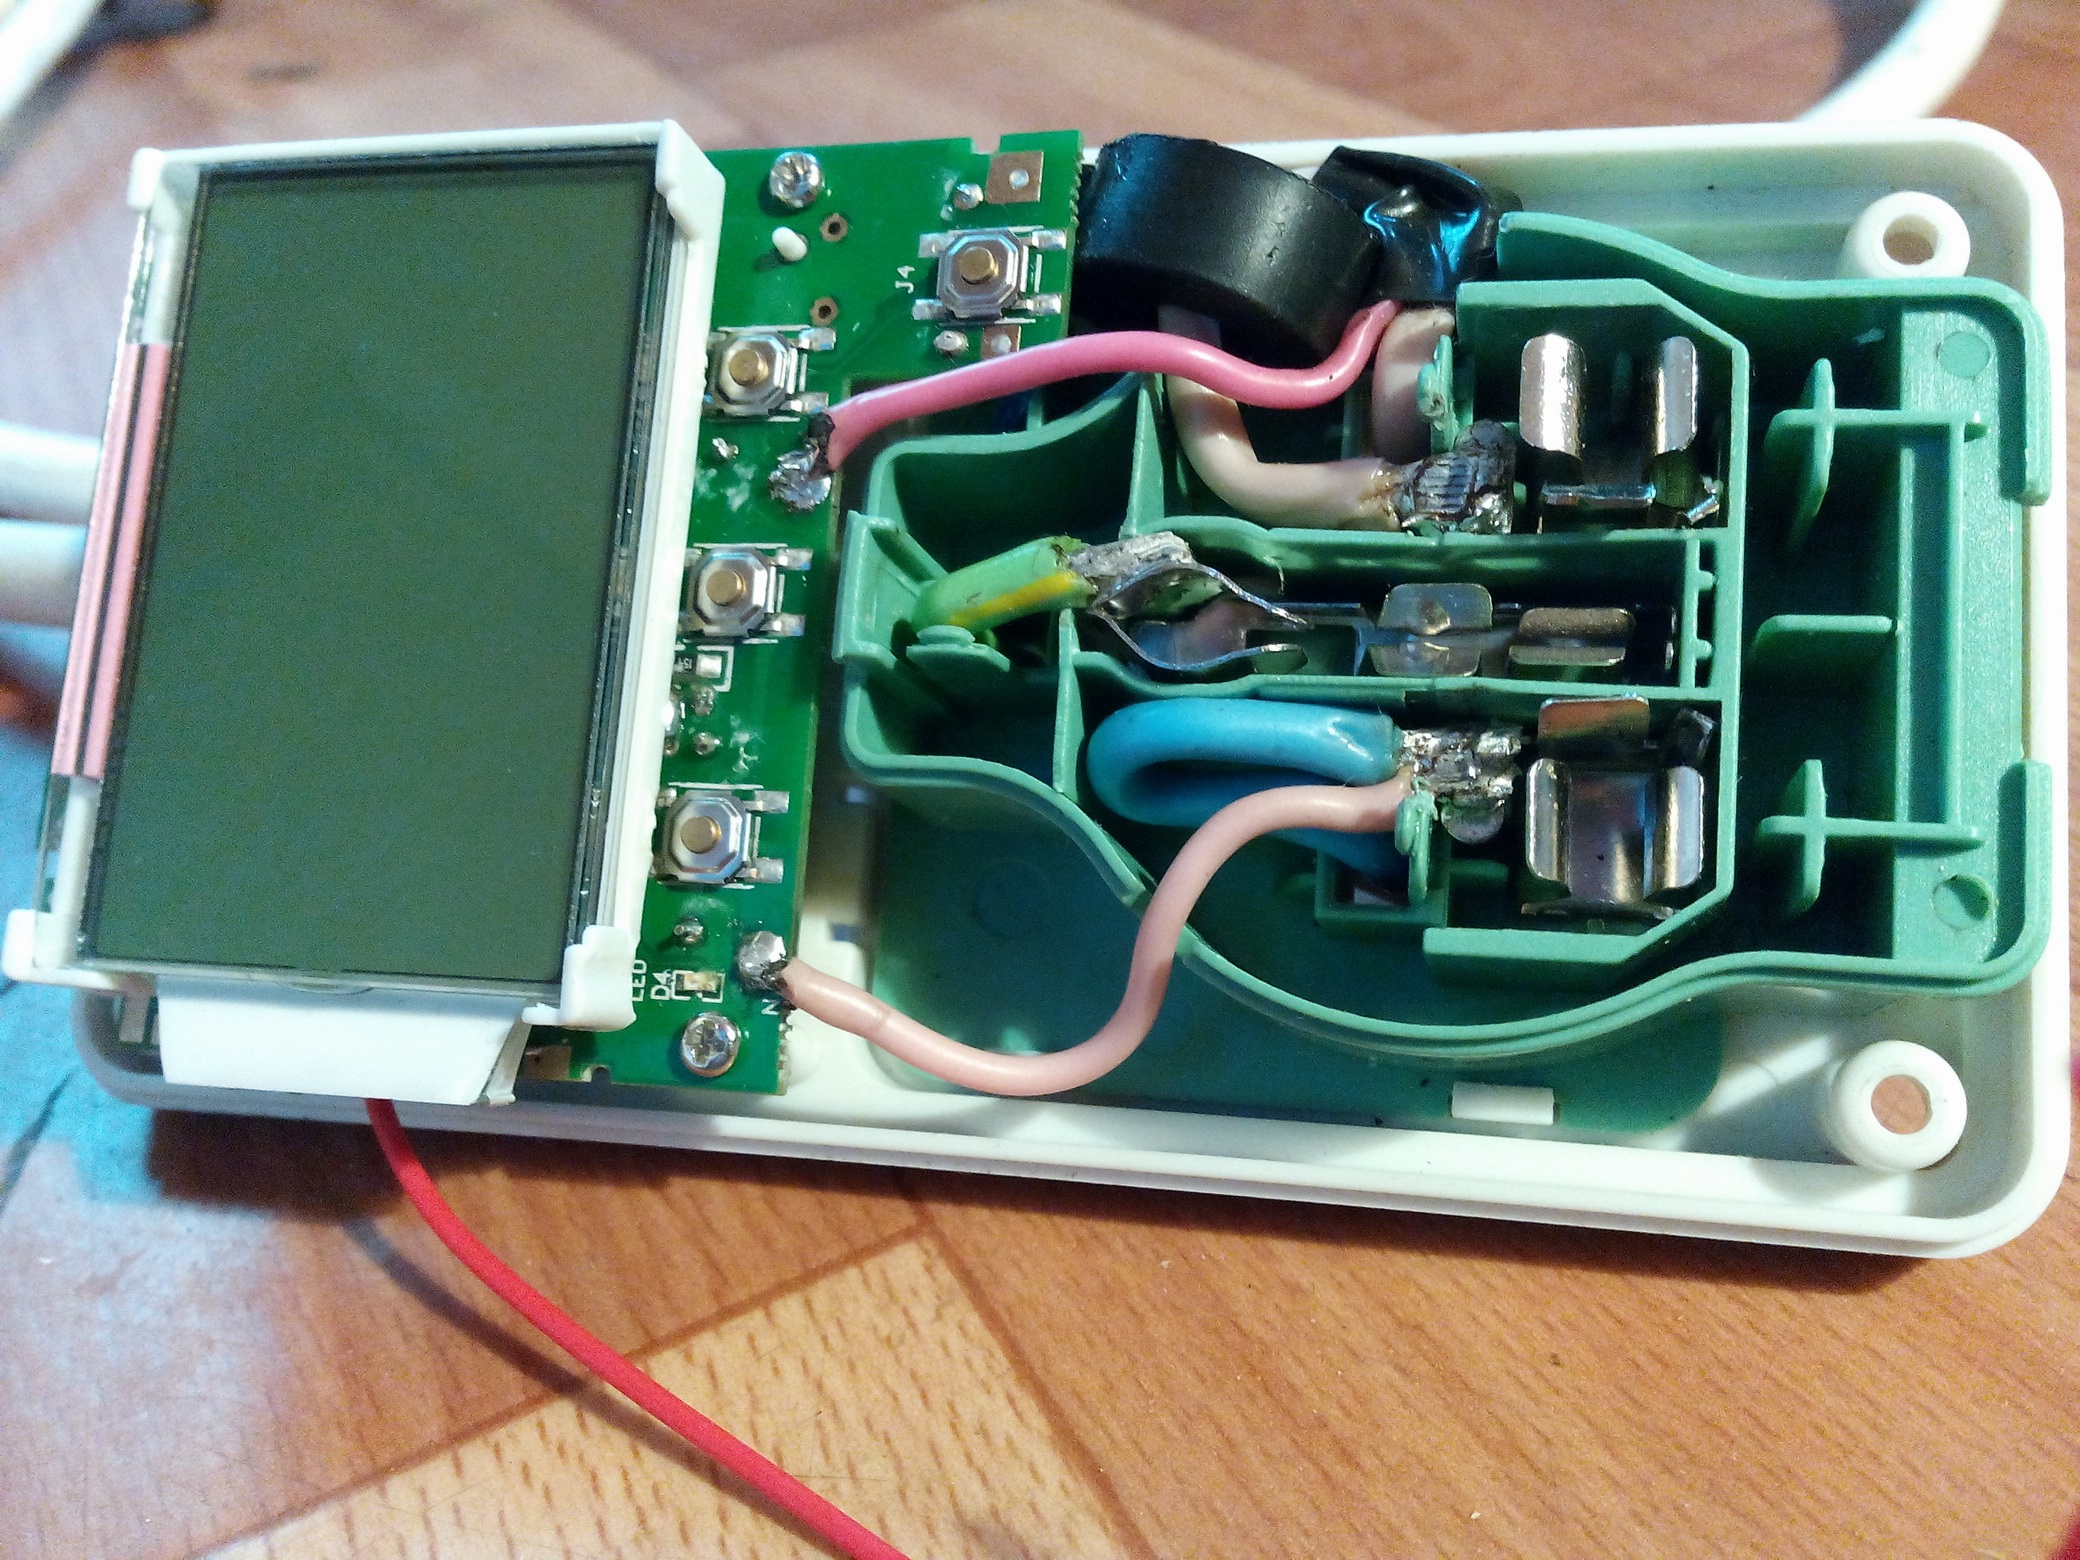
PS: I disassembled it completely for curiosity reasons – the quality of the device is good and soldering on the PCB is accurate (in comparison with many cheap and unreliable Chinese devices that you probably happened to use at least once in your life!). This device seems reliable to use.